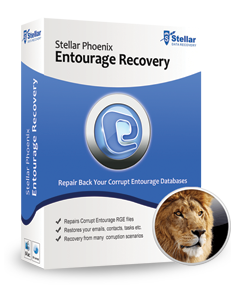
If you are using Mac system then you must be familiar with Entourage. It is one of the most advance and popular email client manager. It manages all the emails and other components like contacts, notes, journals and calendar entries. It also allows to create rules by which you can move emails through different folders and perform some special operations. But what if the rules files get damaged or missing, the data will be inaccessible and loss of data also may occur. You get the following error message - “ The Rules file appears corrupt. Rules cannot be used.” Removing the Rules folder to the trash will not be useful as the message will show again. If you check the database with database utility you will find that the database is also corrupted. You need to repair the Rules file in order to work with Entourage again.

|

|
The cause of Rules file corrupt error message -
- The Entourage is not able to access the Rules files.
- The Rules file is deleted accidentally.
- The Entourage database is corrupted.
- Virus or malware infection.
- Improper handling of Entourage account.
- Abrupt shutdown while the application is functioning.
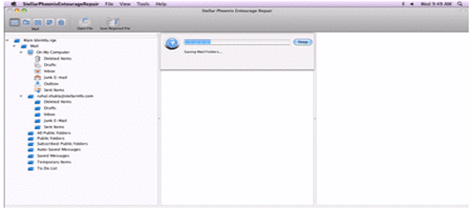
To fix the rules file appear corrupt error in entourage you need to use Entourage recovery software. The software deeply scans the drive for corrupted and missing rules file and capable of repairing any type of corruption in the files. It provideseasy and safe recovery of every entourage object like emails, attachment, notes and calender entries to regain the full functionality of the application. It can also recover the files which are stored in the RGE format. It will provide you the preview of the files which it discovers in the scan result. You can choose the files you want to recover and it will be saved at your specified location. You can download the software and in few simple steps you will be able to run the Entourage application smoothly.
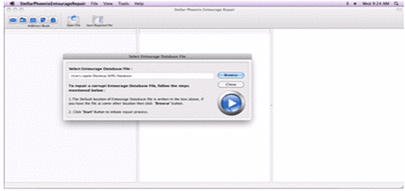
User Guide for Mac Entourage Recovery Software -
Step 1 - Download and install the software on the Mac.
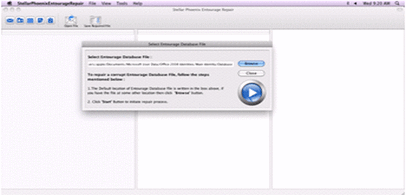
Step 2 - Choose the database to be recovered.
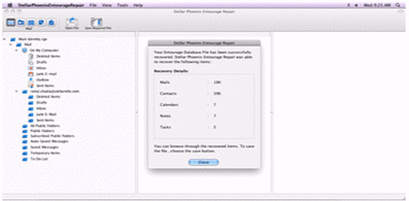
Step 3 - After the scan is completed summary will be shown.
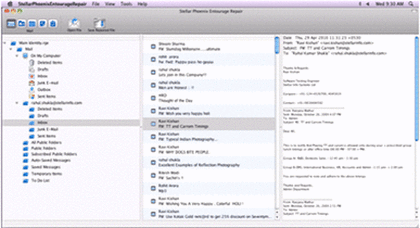
Step 4 - In the preview the RGE files will be shown.
Step 5 - Click the save repair on the menu,
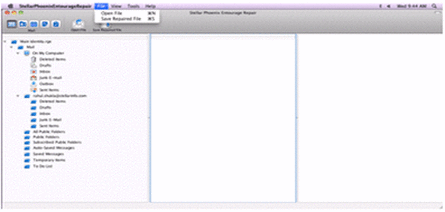
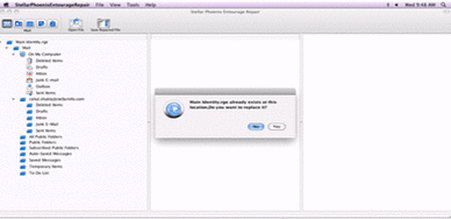
Step 6 - Choose the destination folder.
Step 7 - Scanning process can be stopped by clicking the stop button.
|
|
|