Are you facing Error 4362 when you are trying to send or recieve mail using Entourage for Mac. Entourage is an email client which is operational exclusively on Mac system. It manages your email and other mail components like attachments, notes, journals and calender entries. It also comes with additional features and functionality to make your work lot more easier. But what if this highly advance application starts to give you Error 4362. You will be unable to access your emails or send new ones till the error is fixed. The data stored in the entourage files are also in danger as it can get corrupted or lost. Now you will ask the question “how to fix Entourage Error 4362” . Here you will get simple and effective solution by which you can fix the error and regain all your entaurage data.

|

|
What causes Error 4362 in Entourage ?
Error 4362 is mainly caused when the system files related to entourage is corrupted or go missing. The system files corruption can occur when the Mac is abruptly shut down or when the Entourage application is not installed or upgraded properly. These files can also get infected by virus. Sometimes network disruption damage system files.
How to Fix Error 4362 in Entourage ?
First what you can try to do is re -install the entourage application but you will lose the internal data saved in the entourage files in this process. Whether the Error is fixed or not you will have to use a third party software “Entourage recovery Software” to fix the error and recover all the data intact. The software is capable to efficiently handle these type of issues in Entourage. It will scan you hard drive for missing or corrupted Entourage files and bring them back as a preview then you can restore them on their default location or specify the path where you want to save them. You can down load the software and use it toFix Entourage Error 4362.
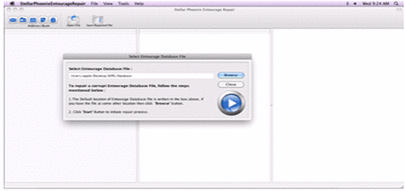
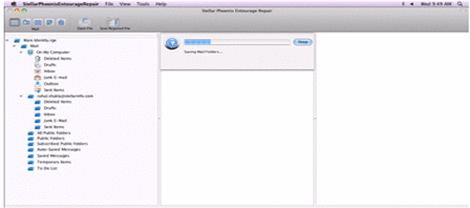
User guide For Mac Entourage Recovery Software
Step 1 - Install The software after Downloading it.
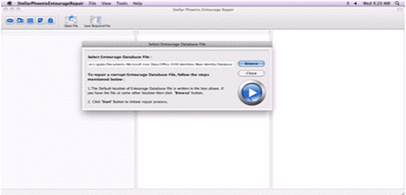
Step 2 - Now a database has to be selected.
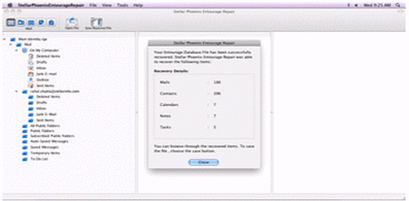
Step 3 - A summary is shown after the scanning is complete.
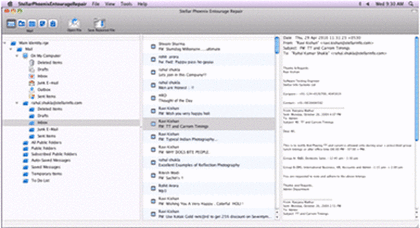
Step 4 - You can see the RGE files in the preview.
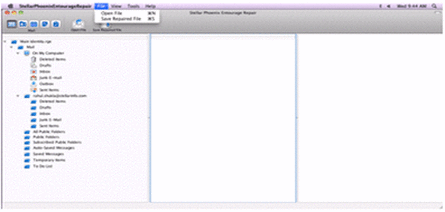
Step 5 - From the menu click the save repair.
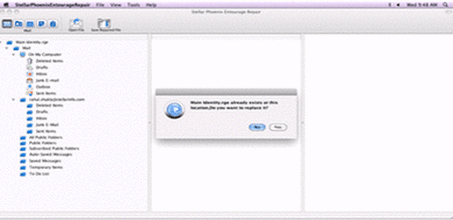
Step 6 - Specify the path where the recovered file will be restored.
Step 7 - Click the stop button if you want to pause the recovery.
|
|
|